
How to Turn On Dictation on iPad
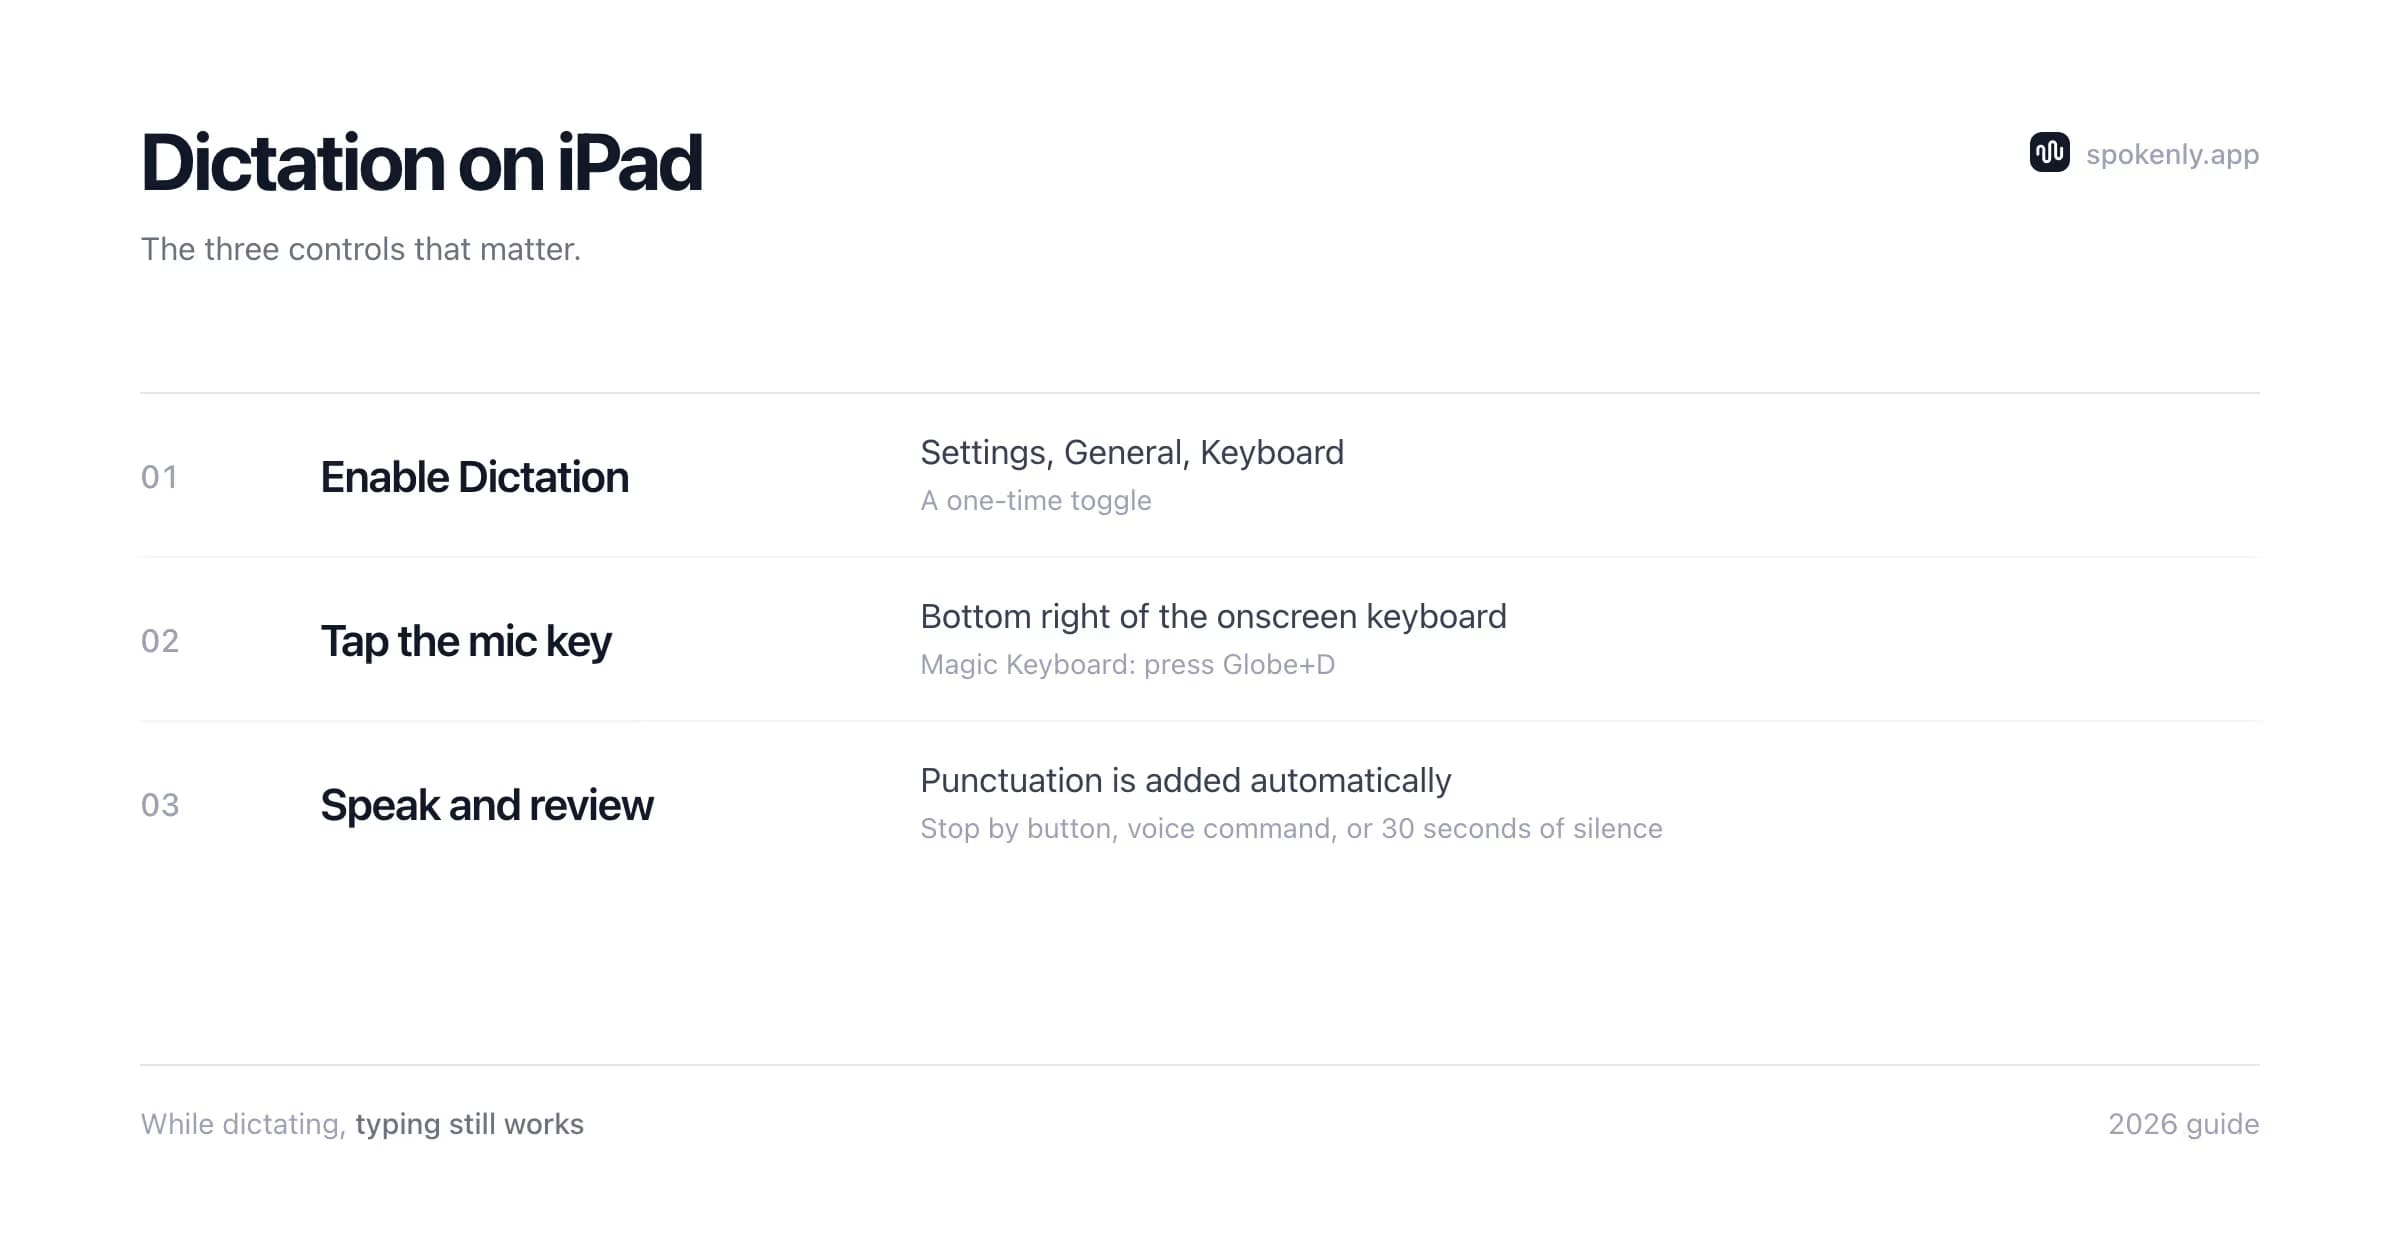
iPad dictation is part of iPadOS and works in editable text fields. If the microphone is missing, enable it in the system keyboard settings:
- 1Open Settings and tap General in the sidebar.
- 2Tap Keyboard.
- 3Toggle Enable Dictation on and confirm. iPadOS may download a language model for on-device processing.
- 4Optional: check Dictation Languages in the same screen if you dictate in more than one language.
The iPad dictation controls vary by language, country, region, and device. If offline use matters, download the language resources, turn on Airplane Mode, and test a full sentence in the target app before leaving a connection.
Using iPad Dictation Well
The mechanics are simple: tap the mic key, talk, and keep typing whenever you want, since dictation and the keyboard stay active together. A few iPad-specific behaviors worth knowing:
- +Automatic punctuation is on by default in current iPadOS. You can still speak punctuation explicitly ("comma", "new paragraph") when you want control.
- +Emoji work by name in supported languages: saying "heart emoji" inserts one.
- +Dictation stops after 30 seconds of silence. For a long session, restart it after an extended pause.
- +Dictation follows the keyboard language. Switch keyboards (the globe key) to dictate in another language.
- +Bluetooth earbuds can drop dictation quality by switching the iPad to phone-call audio mode. If accuracy tanks with AirPods in, try the built-in mics.
Dictation with External and Magic Keyboards
A hardware keyboard usually hides the onscreen keys, but iPadOS keeps dictation in the Shortcuts bar at the bottom of the screen. Tap the Dictation button there and speak. On Apple Magic Keyboard for iPad and Smart Keyboard, press Globe-D (the Switch Keyboard key plus D) to start dictation directly.
Apple documents both paths in its external keyboard dictation instructions. If a generic Bluetooth keyboard has no Globe key, use the Shortcuts bar or show the onscreen keyboard and tap its microphone. Control-Space cycles enabled keyboards; it does not start dictation.
A third-party keyboard does not automatically remain visible when hardware is connected. To use Spokenly's keyboard surface, show the onscreen keyboard if the current app hides it, then hold the Globe key and choose Spokenly. For frequent hardware-keyboard work, Apple's Globe-D shortcut is faster for built-in dictation, while Spokenly remains useful for file transcription and workflows that need its models or vocabulary tools.
Dictation Not Working on iPad: The Checklist
No mic key on the keyboard
Open Settings, General, Keyboard, and turn on Enable Dictation. If it is unavailable, check Screen Time restrictions and confirm that the current keyboard language supports dictation.
Hardware keyboard is connected
Use the Dictation button in the Shortcuts bar. On Magic Keyboard for iPad or Smart Keyboard, press Globe-D. Show the onscreen keyboard only if those controls are unavailable.
Mic key is present but nothing happens
Test in Apple Notes, restart the iPad, then toggle Enable Dictation off and on. Reconnect to Wi-Fi long enough for any language resources to download.
Words appear in the wrong language
Dictation follows the active keyboard. Switch with the Globe key, or remove unused keyboards in Settings, General, Keyboard, Keyboards.
Garbled or missing words
Record a Voice Memo with the same microphone. If that recording is also poor, remove anything blocking the microphones and test without Bluetooth audio.
Works in Notes but not another app
The app may use a custom editor, disallow third-party keyboards, or have a focused field that is not editable. Update the app and test a plain text field before changing system settings.
Spokenly keyboard says Full Access Required
Open Settings, General, Keyboard, Keyboards, Spokenly, then turn on Allow Full Access. Return to the app and switch back to the Spokenly keyboard.
The same failure modes on the phone side are covered in iPhone dictation not working; most fixes transfer directly.
When Built-In Dictation Is Not Enough
Apple's iPad dictation covers quick messages and notes well. Users outgrow it in predictable places: technical vocabulary, long-form writing, languages Apple omits, and audio-file transcription, which it cannot do.
Spokenly runs on iPadOS 17.6 and later, as shown in its App Store listing. It adds a custom keyboard for apps that accept third-party keyboards, local and modern cloud transcription choices, Word Replacements, and Transcribe File for lecture or meeting recordings. The free tier includes local models and BYOK. Pro is $9.99 per month or $99.99 per year, with a 50% student discount through an eligible .edu email.
Pick the simplest route for the job
- +Use Apple Dictation for a quick search, message, or paragraph when no setup is worth the effort.
- +Use a voice-typing keyboard when names, technical terms, formatting prompts, or longer drafts need more control.
- +Use Transcribe File for audio that already exists, such as a lecture, interview, voice memo, or meeting recording.
- +With a hardware keyboard, start with Globe-D. Switch keyboards only when the third-party model or vocabulary tools solve a real problem.
For the broader lineup across Apple devices, see best dictation apps for iPhone and Spokenly for iPhone. Many choices also run on iPad, but keyboard layout, hardware requirements, and third-party-keyboard support should be checked separately.
Custom Keyboards, Allow Full Access, and Privacy
Install the Spokenly keyboard from Settings, General, Keyboard, Keyboards, Add New Keyboard, Spokenly. Tap Spokenly in that list and enable Allow Full Access. In an editable field, hold the Globe key and select Spokenly. This permission is required for the keyboard extension to communicate with the main Spokenly app and return transcribed text.
Apple's custom keyboard security model explains the trade-off. Without Full Access, the keyboard has no network access or write access to the app's shared group container, and Apple lists no microphone or speaker access for the restricted keyboard. Full Access enables network access, shared-container communication, and server-side processing of input events. It does not mean a keyboard is always recording, but it makes data transmission technically possible and increases the developer's privacy responsibilities.
For local dictation
Select a supported local model and use Spokenly's Local Only Mode when the workflow must block outbound network access. Verify the language is available locally before relying on it.
For cloud dictation
Audio is sent to the selected transcription provider. Review that provider's retention and training controls before dictating sensitive material.
For passwords and payment details
Switch to Apple's system keyboard and type the value. Do not dictate secrets into any voice service.
For managed iPads
An organization can restrict third-party keyboards or network access through device management. If Spokenly does not appear, ask the administrator before changing profiles.
FAQ
How do I dictate on my iPad?
Tap into any text field, tap the microphone key at the bottom-right of the onscreen keyboard, and speak. Words appear at the cursor, and recent iPadOS versions punctuate automatically. You can keep typing while dictation remains active. To stop, tap the Dictation button, say "Stop dictation," or wait through 30 seconds of silence. If there is no mic key, enable it in Settings, General, Keyboard, Enable Dictation.
How do I enable dictation on iPad?
Open Settings, General, Keyboard, and toggle Enable Dictation on. iPadOS asks for confirmation and may download a language model. After that the microphone key appears on the onscreen keyboard in any app.
Why is there no microphone key on my iPad keyboard?
Four usual reasons: dictation is toggled off (Settings, General, Keyboard), Screen Time restrictions block it (Settings, Screen Time, Content & Privacy Restrictions, Allowed Apps & Features), the active keyboard language does not support dictation, or a third-party keyboard without a dictation button is active. Switching back to the Apple keyboard restores the mic key.
Does iPad dictation work offline?
It can work on-device for supported languages and devices after required language resources download, but availability varies by language, country, region, and iPad model. Test the exact keyboard language in Airplane Mode before relying on it offline. A local third-party model is another option when it supports your language and hardware.
How do I turn off dictation on my iPad?
Settings, General, Keyboard, toggle Enable Dictation off. That removes the microphone key everywhere. To pause instead of disabling, simply do not tap the mic key; it never listens until pressed.
Does Spokenly work on iPad?
Yes. Spokenly runs on iPadOS 17.6 or later. Its custom keyboard works in apps that accept third-party keyboards, and the app also supports file transcription. The keyboard requires Allow Full Access so its extension can communicate with the main app. Local models are free; Pro is $9.99 per month or $99.99 per year for managed cloud transcription and hosted AI.
Can I dictate long documents on an iPad?
Yes. Built-in dictation lets you type corrections while it stays active, but it stops after 30 seconds of silence and must then be restarted. For specialized names or technical terms, compare the same sample in Apple Dictation and any third-party keyboard you are considering. A hardware keyboard can make review and correction easier, but no model is automatically more accurate for every language or subject.
Ready to try Spokenly?
Free to use with local models. No account required.
Download SpokenlyRead next